Quick start guide
Follow this guide to get up and running quickly!
Installation and setup
- Download and install Visual Studio Code (VS Code).
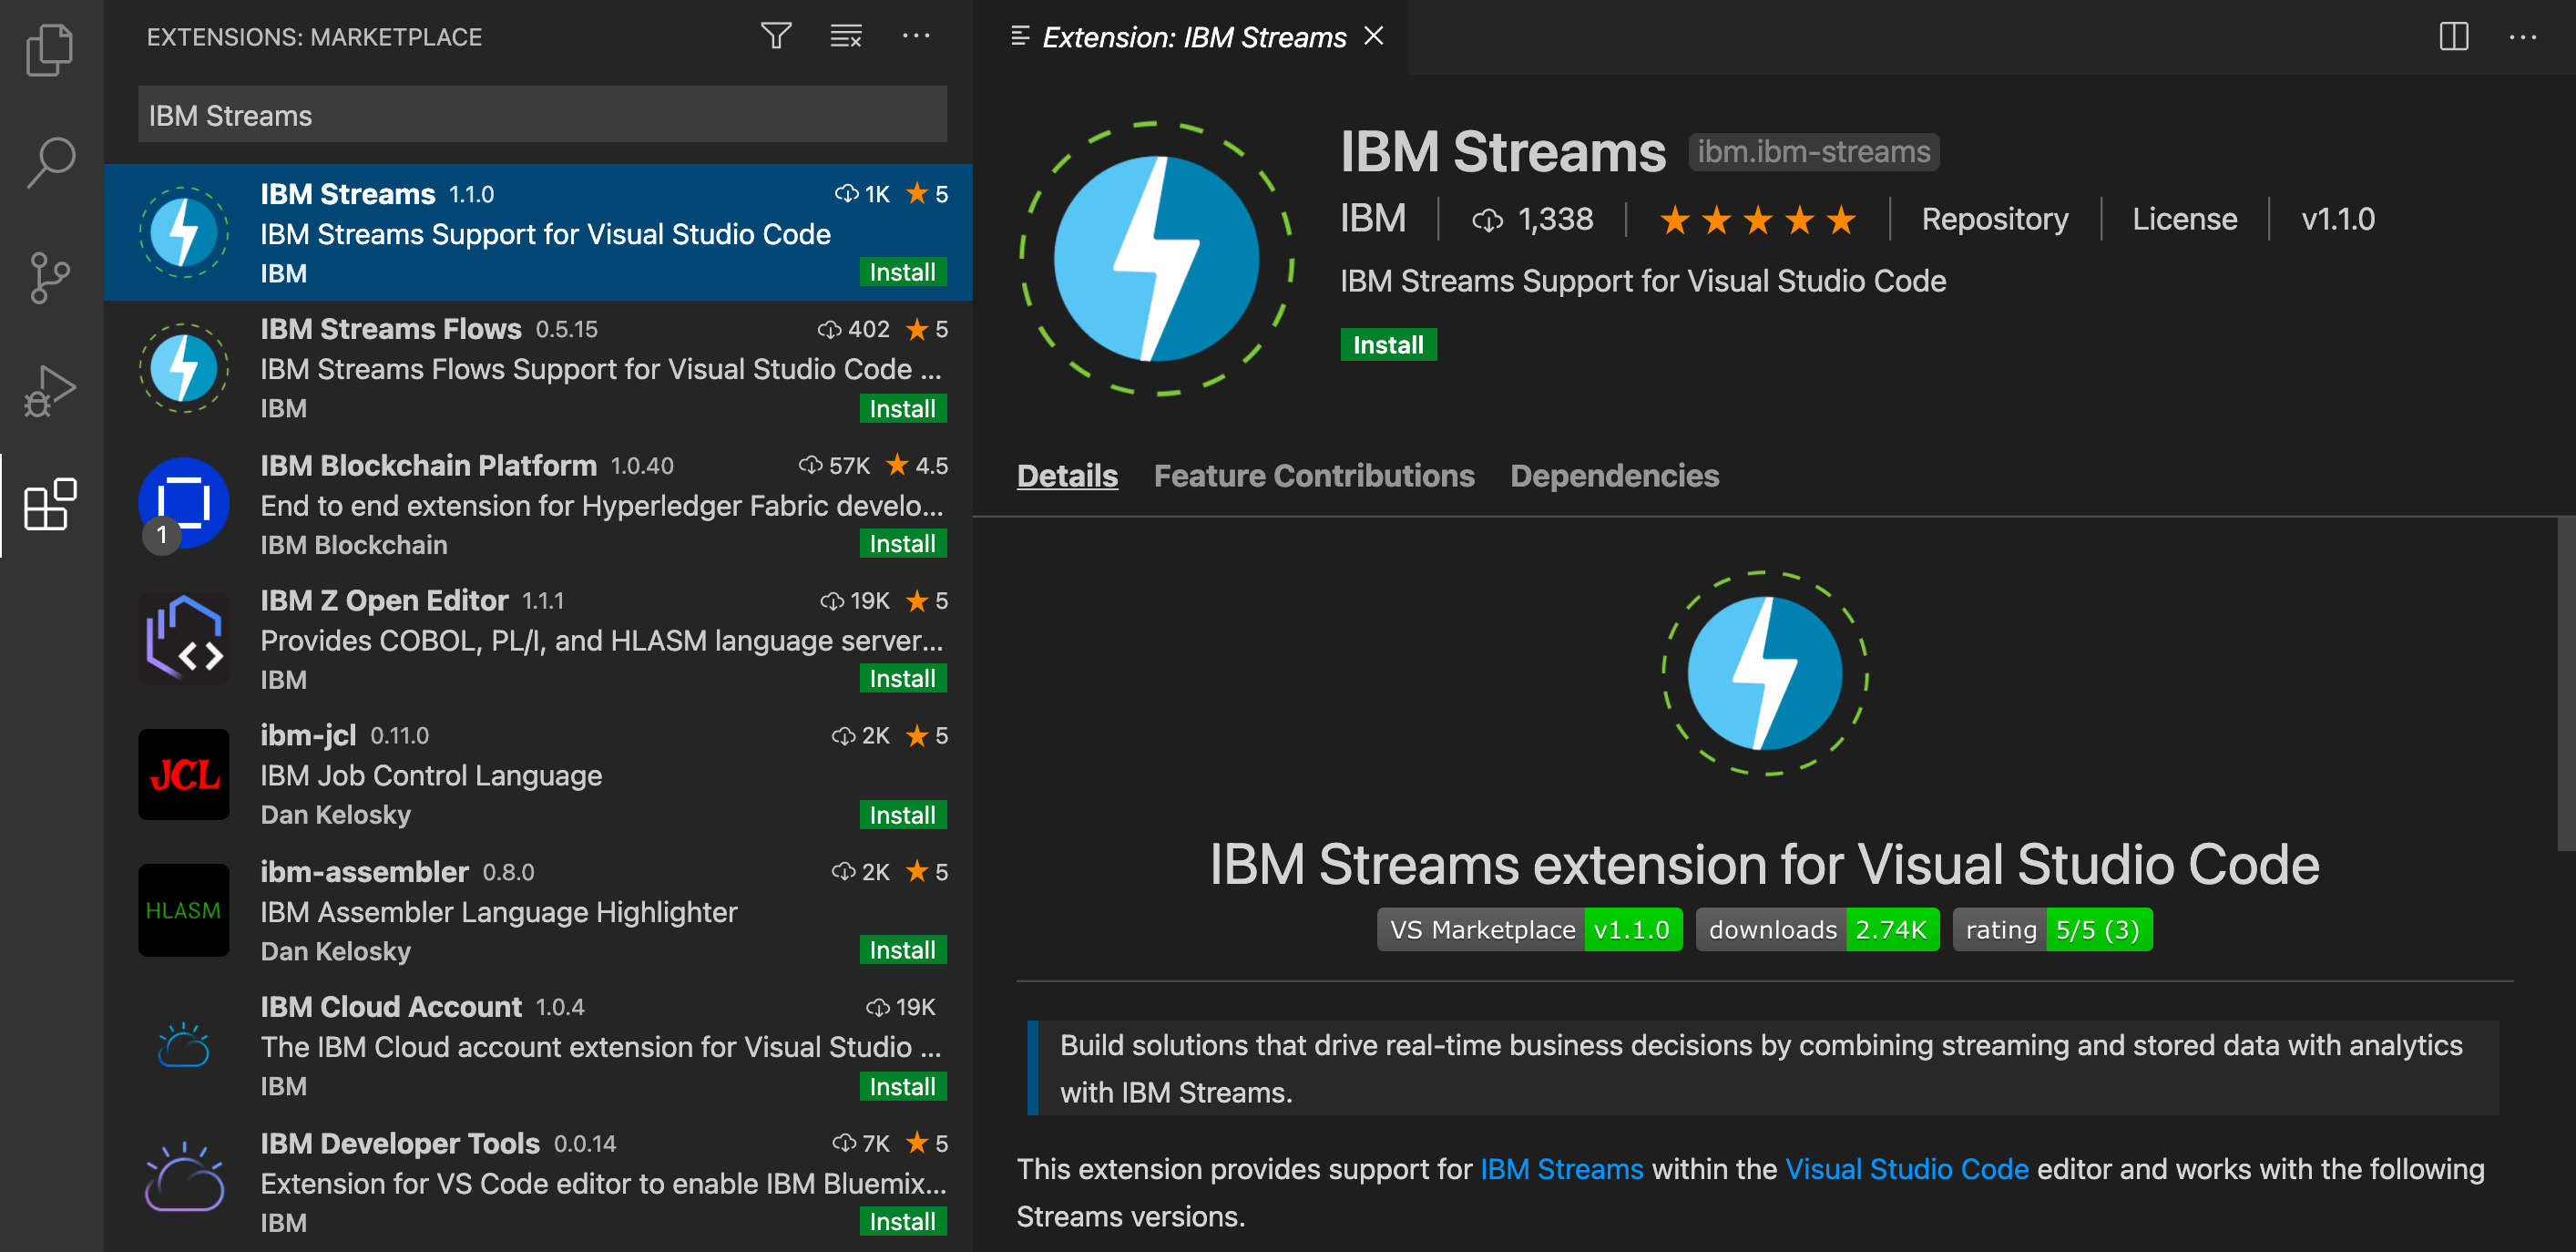
- Install the IBM Streams extension.
- Bring up the Extensions view by clicking on the
icon on the side of VS Code.
- Search for IBM Streams and click on the Install button.
- Reload VS Code if you are prompted to.

- Bring up the Extensions view by clicking on the
- Set the
JAVA_HOMEenvironment variable to a Java JRE or JDK/SDK version 8 or higher. This satisfies the requirements of the IBM Streams SPL language server, which provides IntelliSense support for SPL files. - Set the
java.homeVS Code setting to a Java JDK version 11 or higher. This satisfies the requirements of the Language Support for Java(TM) by Red Hat extension that this extension depends on. - Set “http.proxySupport”: “off” in the settings.json file.
- Add an IBM Streams instance.
Watch and learn: This video demonstrates how to add your first instance.
- Add a toolkits folder for toolkit dependencies.
VS Code overview
This section covers some of the most useful VS Code features. For more information, refer to the VS Code documentation.
Explorer and editor
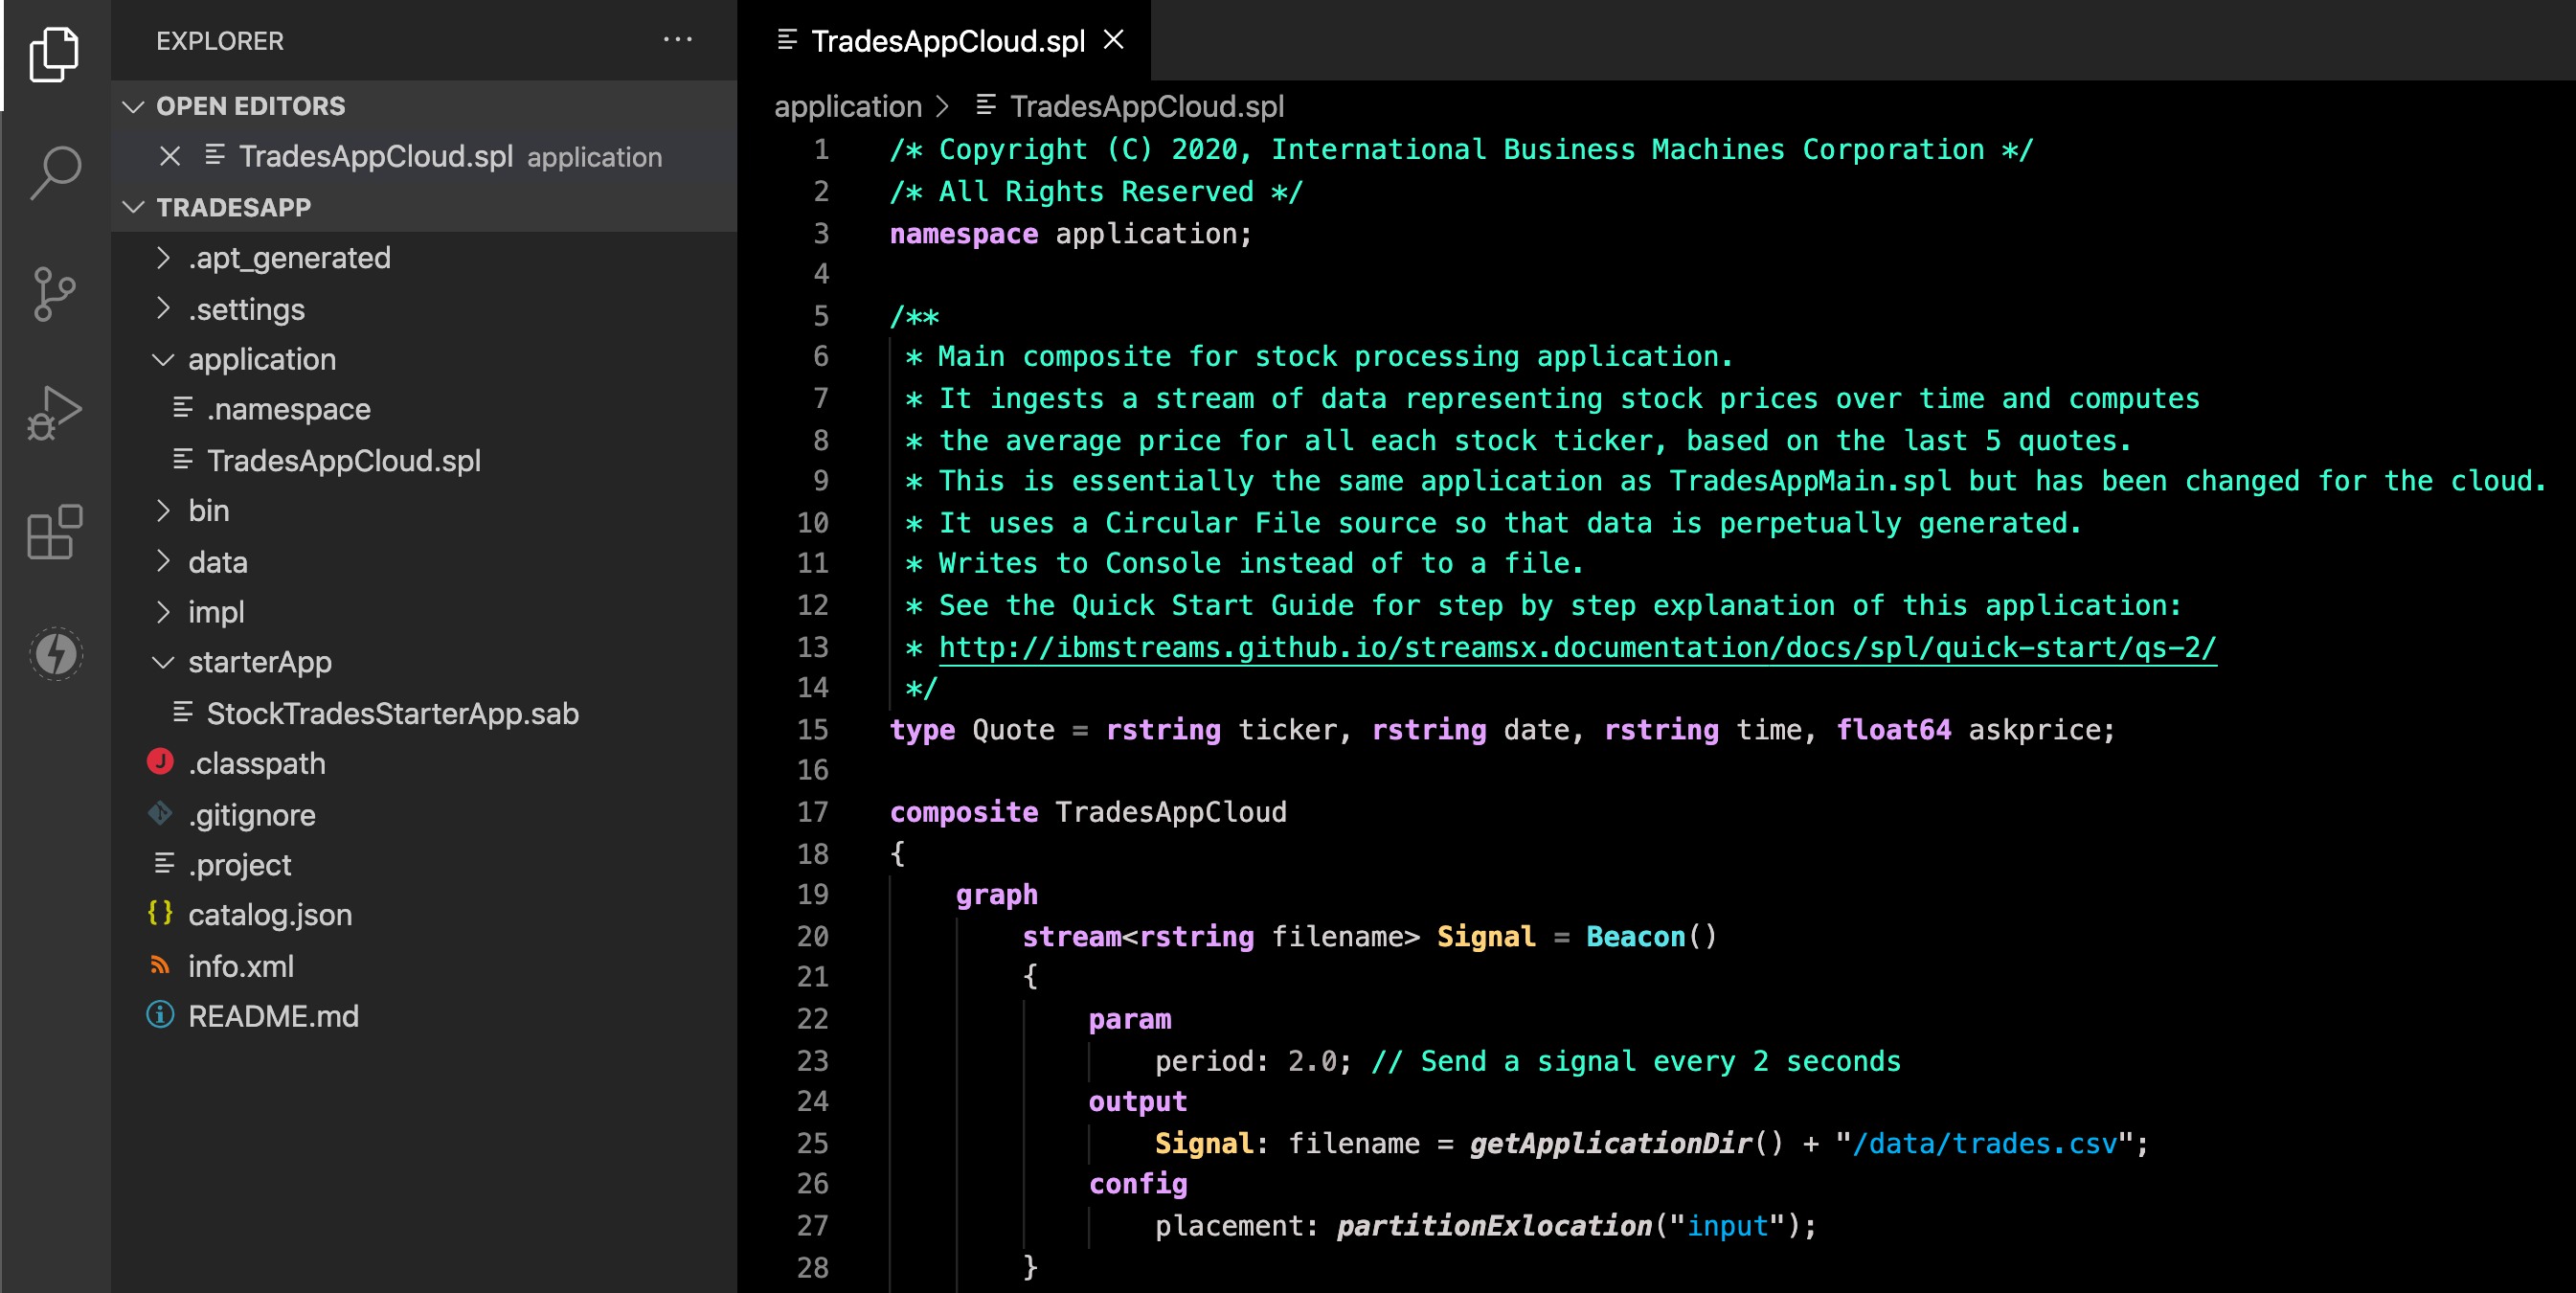
The Explorer () on the side of VS Code shows the projects that you are currently working on. Learn how to import a project below.
Develop your Streams applications in the editor area. You can open and edit multiple files at a time.

Command Palette
Bring up the Command Palette to search for and see all of the available commands.

Version control with Git
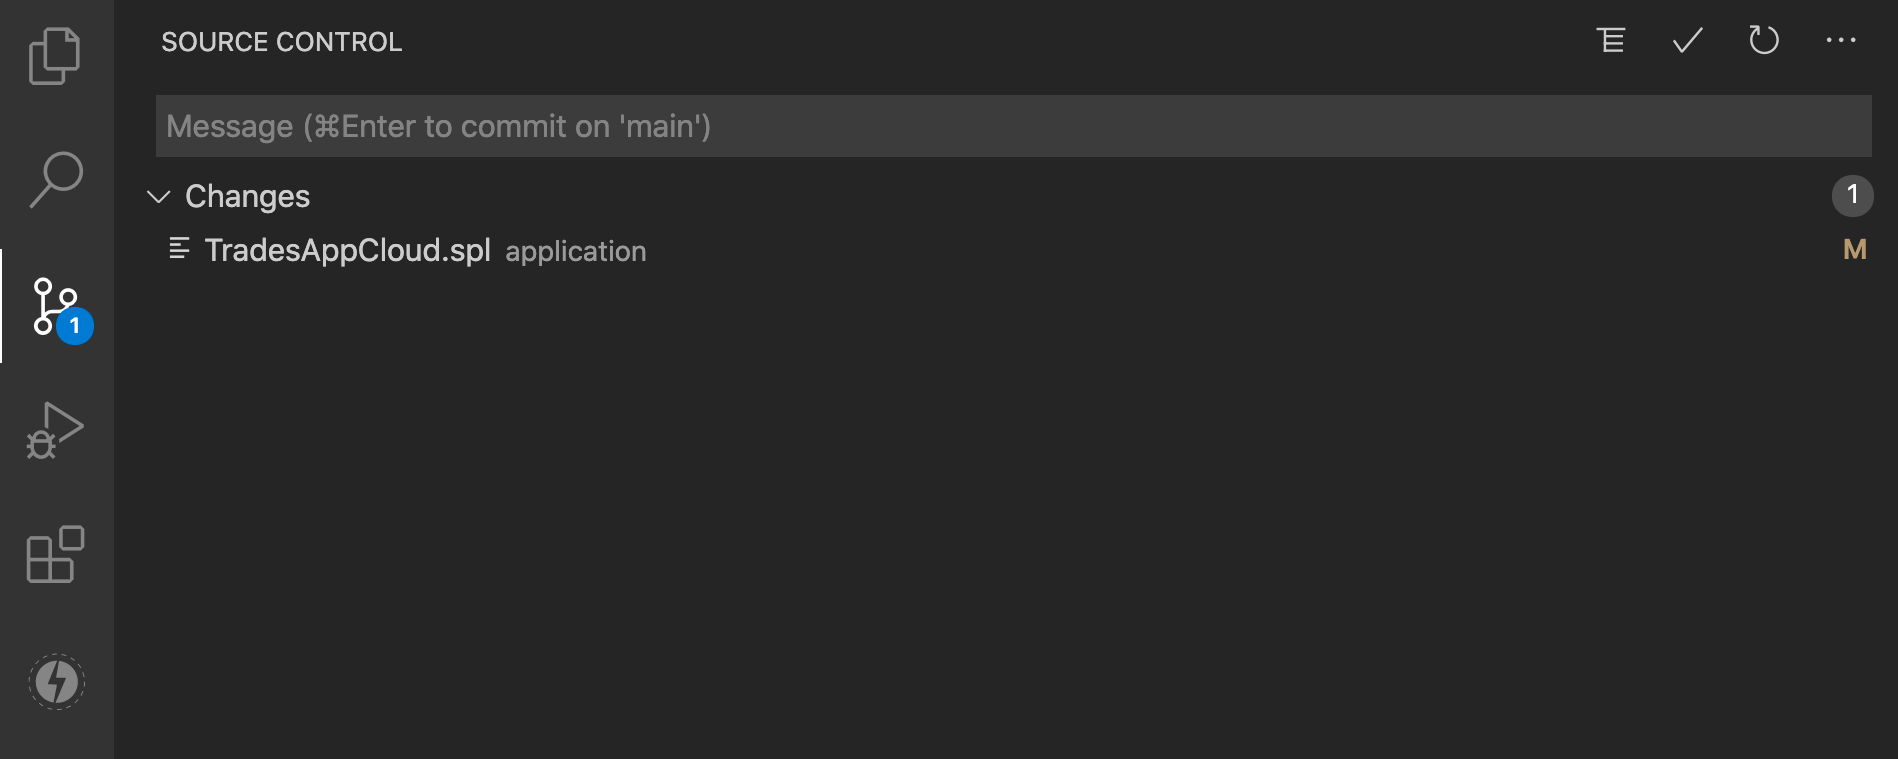
The Source Control view () on the side of VS Code manages changes in your local Git repository. You can also create and push commits directly from VS Code.

Importing a project
If you already have existing projects on your local machine or in GitHub, you can easily work with them in VS Code.
Importing an existing local project
To import a local SPL project (including those from Streams Studio):
-
Click File > Open… (or Add Folder to Workspace…).
Tip: Choose whether to use a single- or multi-root workspace.
Choose Open if you want to work with a single project folder.
Choose Add Folder to Workspace… if you want to work on multiple projects at a time. The project will be added to the current workspace. - Browse to the project folder and click Open (or Add).
- The imported project files are added to the Explorer (
) on the side of VS Code.
Importing an existing project from GitHub
To import a project from GitHub, you can clone the repository from within VS Code.
- Bring up the Command Palette and select Git: Clone.
- You can either clone from a URL or from GitHub.
- From URL:
- Enter a repository URL (e.g., https://github.com/IBMStreams/samples).
- Select Clone from URL.
- From GitHub:
- Select Clone from GitHub.
- Click on the Allow button to allow signing into GitHub.
- In your browser, authorize VS Code to access GitHub by clicking on the Continue button.
- In VS Code, click on the Open button to continue with the clone.
- Select a repository from the list.
- From URL:
- Select a repository location on your local machine where the repository should be cloned to.
- Once the clone finishes, you can open the cloned repository in the current window or a new window.
- The imported project files are added to the Explorer (
) on the side of VS Code.
Switching to VS Code from Streams Studio
If you have used Streams Studio, the following list summarizes some important things to look out for.
- SPL projects from Streams Studio can be used in VS Code without having to make any changes. See the Importing an existing project section for instructions.
- Adding a Streams toolkit is discussed in the Using toolkits section.
- An equivalent of the SPL graphical editor is not available for developing SPL applications.
- Build configurations are not used to compile or run applications in VS Code. To compile an SPL composite, right-click on the SPL file containing the composite in the Explorer and select Build or Build and Submit Job.
- You can monitor running jobs using the included job graph or the Streams Console.
- Streams installation management is not included because your Streams instance is created and managed in the cloud. However, Streams instance management is covered in the Streams Explorer section.